Tag Archive | Oma’s kitchen

Cherry and Coconut cake from Oma’s Kitchen.


DSCF0838

This is a favourite in my cottage. Here are the ingredients:

8 ozs self-raising flour

4 ozs soft margarine (I like Flora best)

4 ozs caster sugar

2 ozs dessicated coconut

handful of glace cherries (yes, they’re sticky)

1 egg

6 tablespoons full of milk

pinch of salt

DSCF0833

Method:

Weigh out the flour and put into a medium sized mixing bowl. Add a pinch of salt.

Rub in the margarine until the mixture looks like breadcrumbs. Don’t overwork it.

Add the coconut and cherries and mix carefully with a fork so as not to break up the cherries too much.

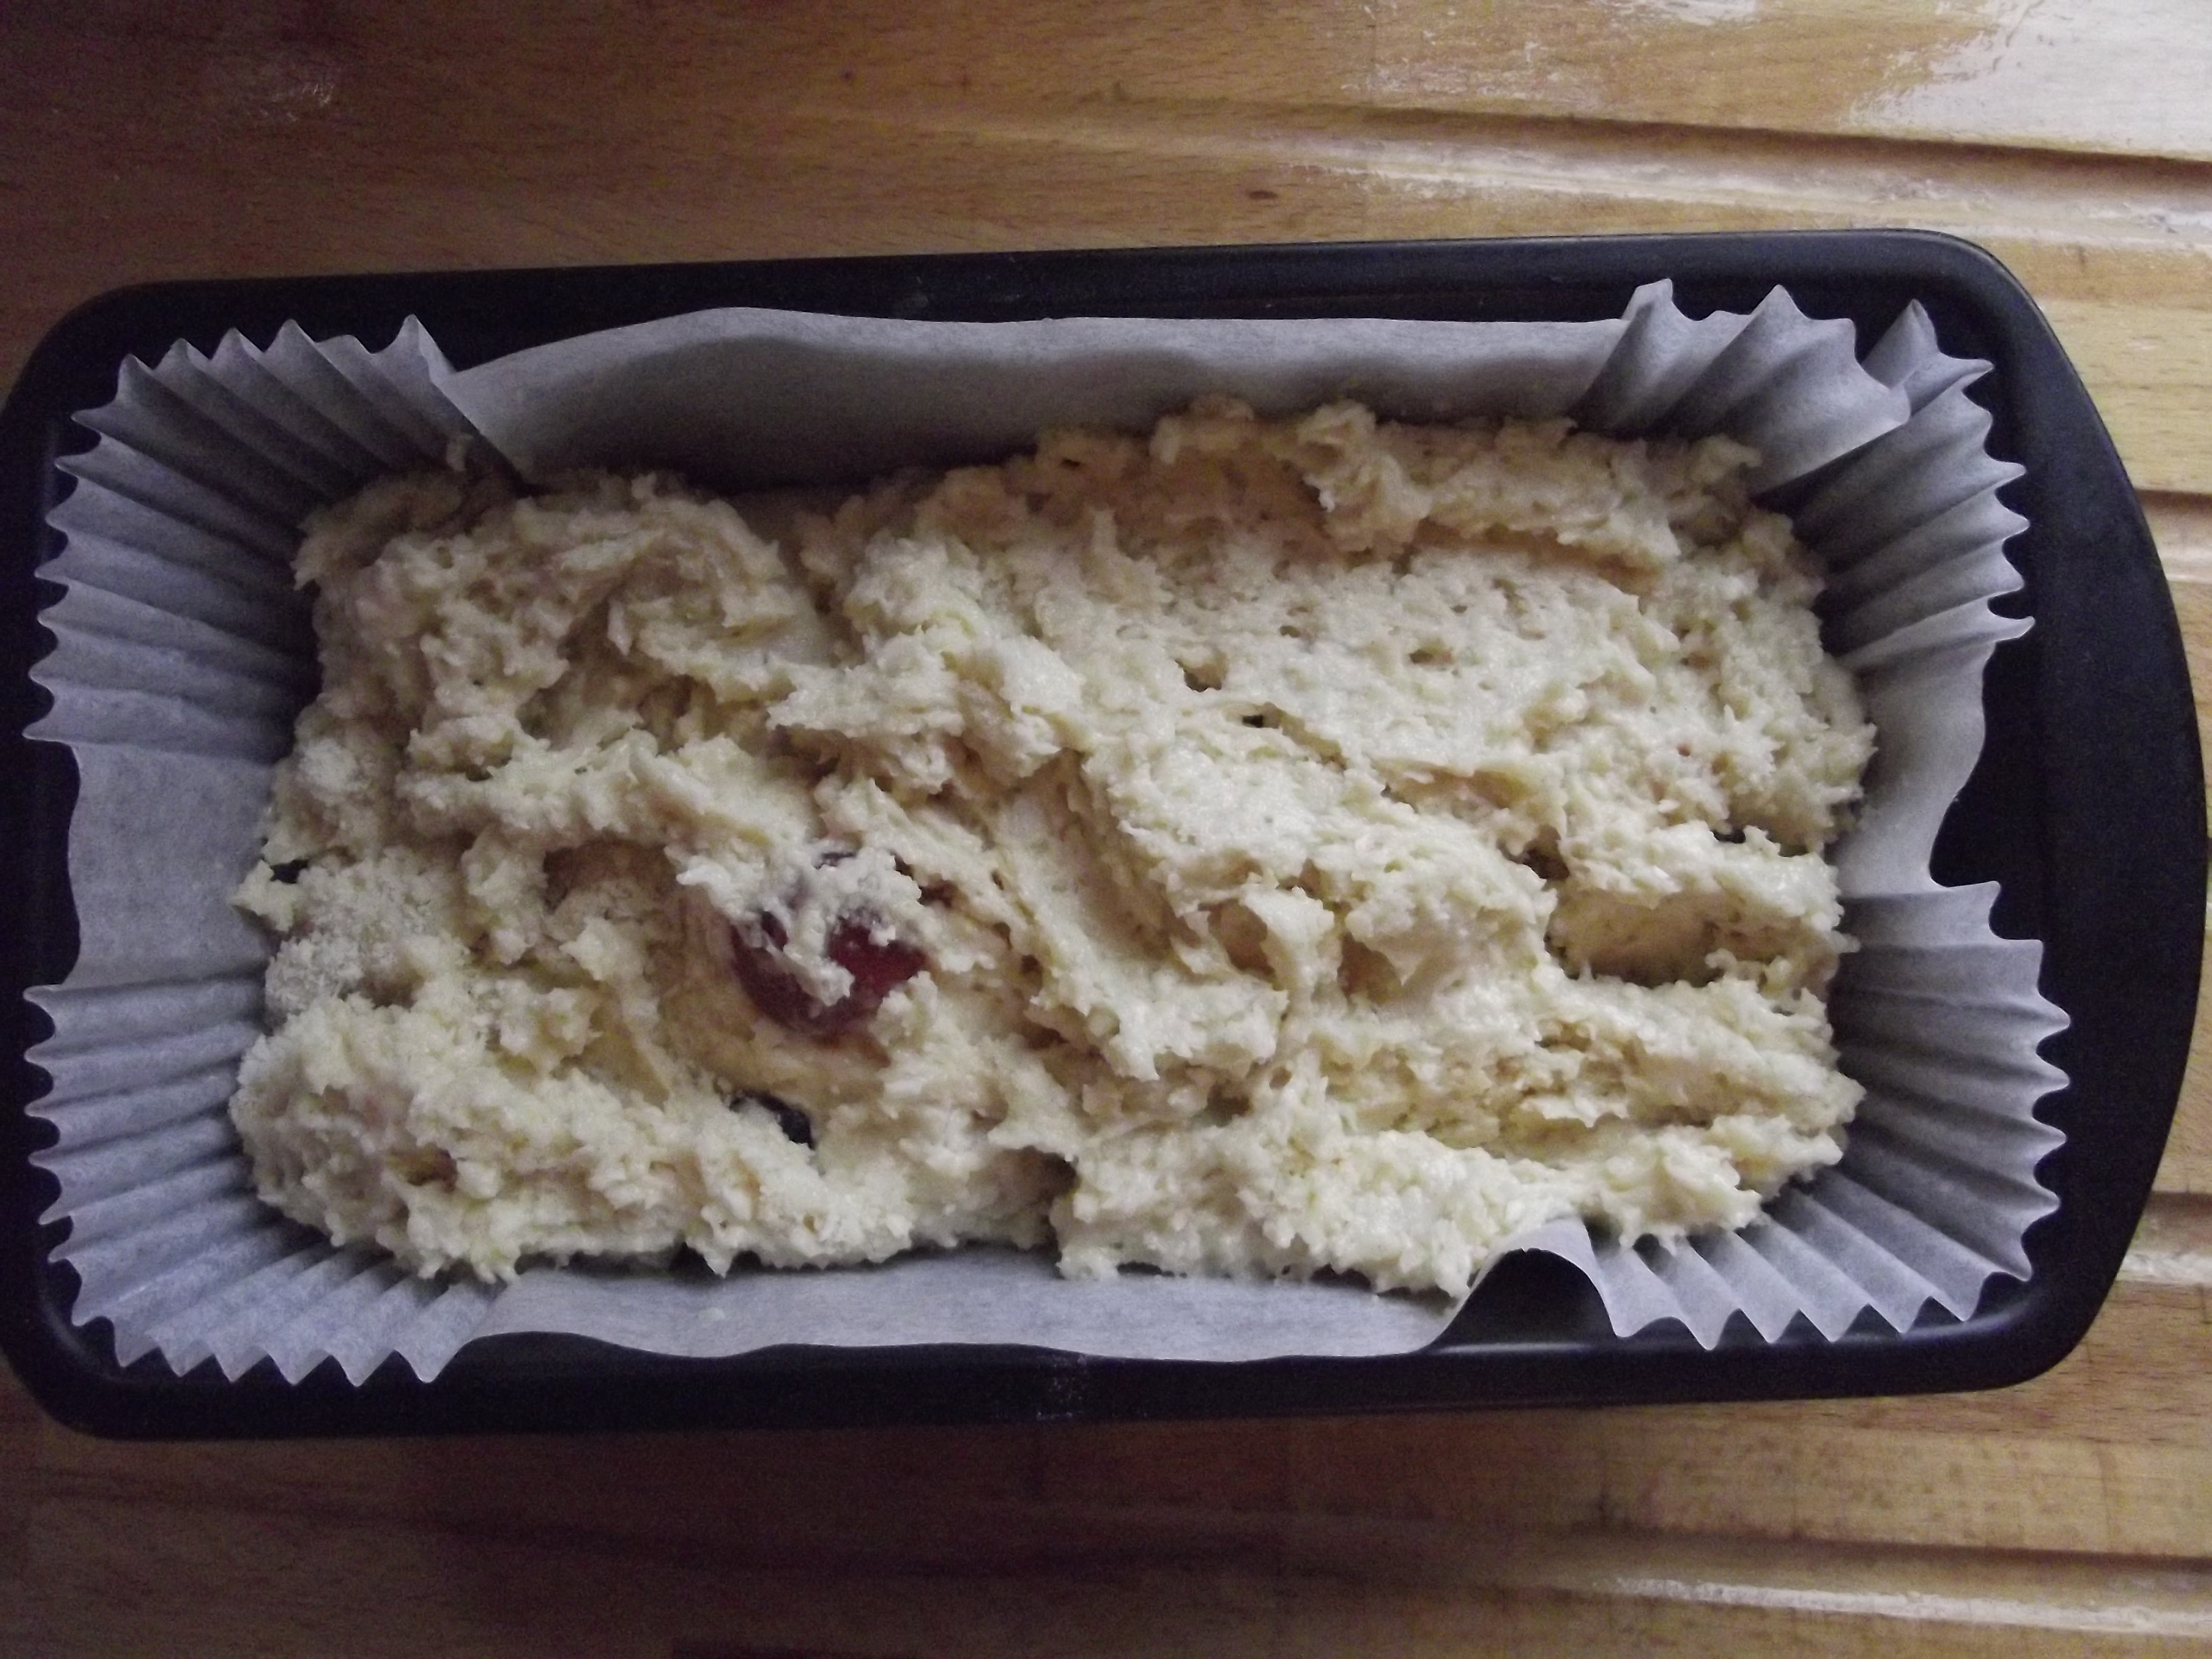
Break the egg and add to the mixture with the milk. Stir in until it looks like this:

DSCF0842

At this point you can adjust the mixture if it is too dry. Don’t add too much milk to start with. You can always add more, but you can’t take it out.

Put the mixture into a paper case, in a loaf tin at the centre of the oven.

DSCF0843

Cook at Gas 4 for one hour. When you take it out of the oven, use a skewer to test that the cake is cooked. If the skewer is placed in the centre of the cake, it should come out clean. If it doesn’t, put the cake back for a further 10 minutes. Test again.

If the cake is done, remove the paper case and place onto your prettiest china dish, preferably oblong shaped, like this:

DSCF0852

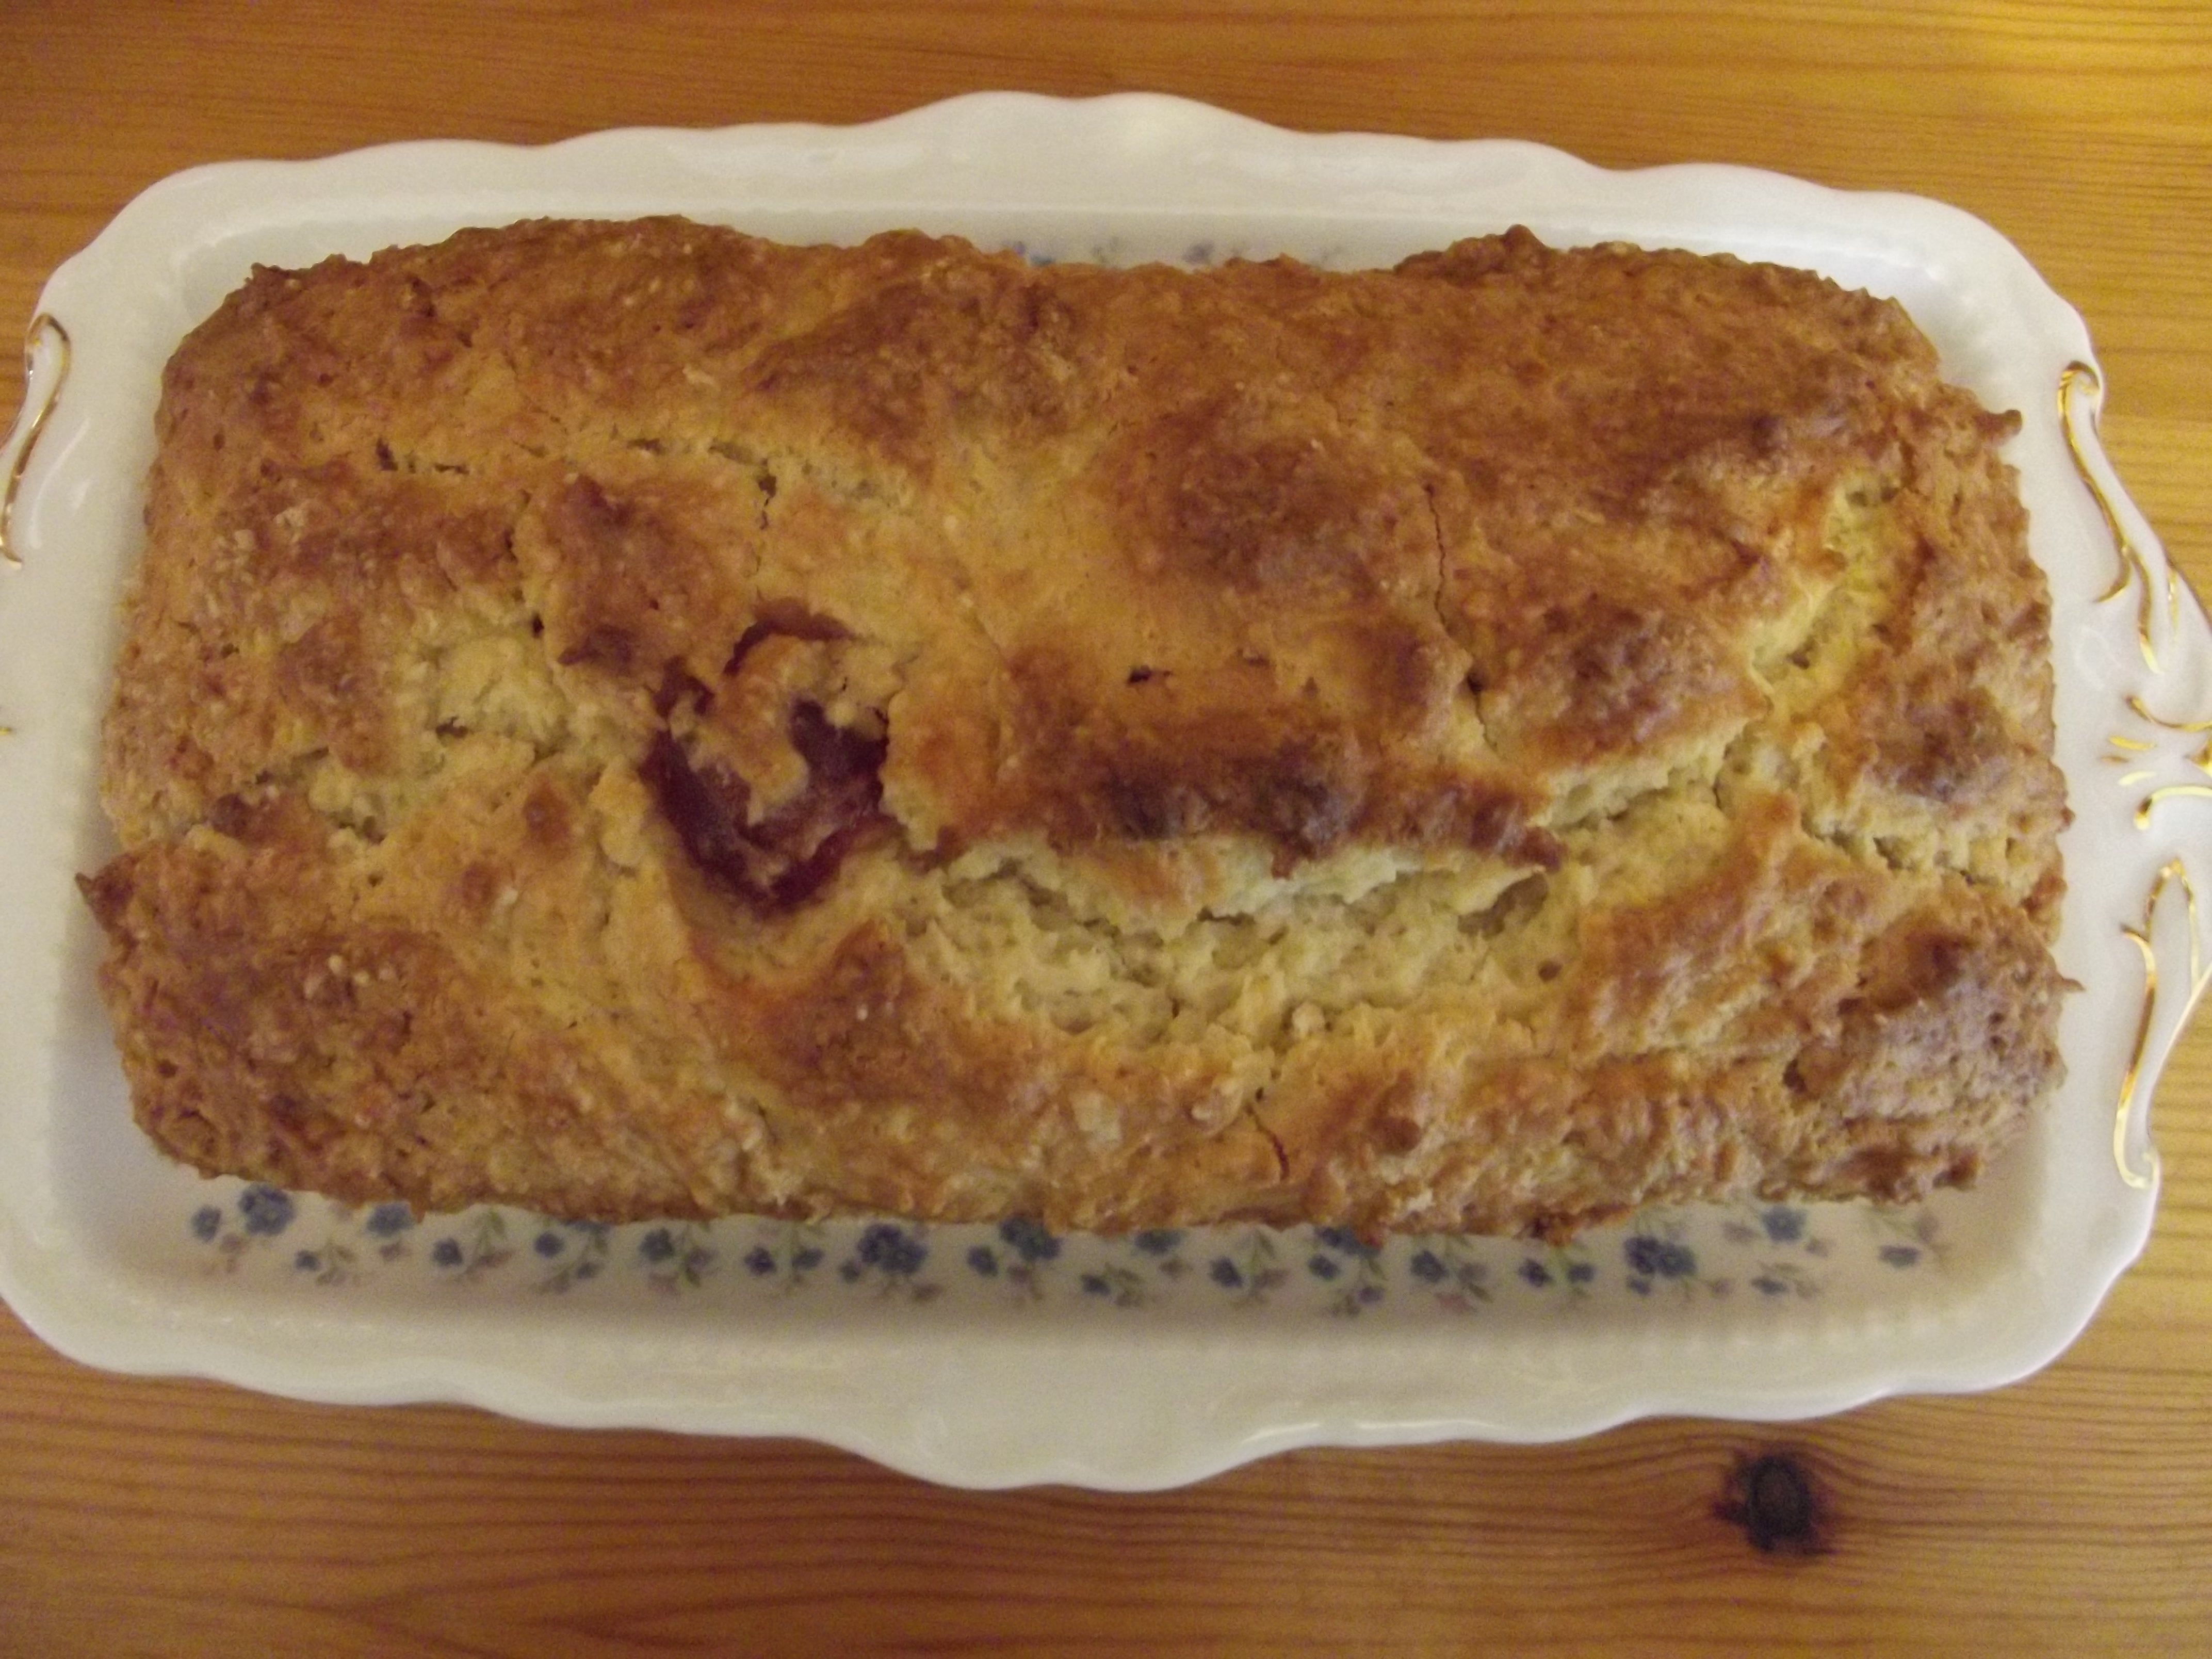
Now, will you join me for a nice cup of coffee and a slice of the cake? I promise you’ll get a bit with a cherry in it 🙂

DSCF0857

OLYMPUS DIGITAL CAMERA

This was a recipe from Oma’s kitchen.

Enjoy!

Oma

Chicken and Ham Pie


This pretty little porcelain bird is just waiting for a pie to sit on.

My father-in-law gave me the pie funnel many years ago and I’ve managed to keep it without breaking it thus far…

Lardons are required.

Here they are again, waiting to be cooked…

First I fry them off in their own fat.

Then I mix them with some chopped up chicken which has already been cooked.

Next I add a tin of Campbells condensed mushroom soup.

Put the mixture in a pie dish with the pie funnel in the middle.

The purpose of a pie funnel is to let the steam out of the pie while it is cooking. This prevents the pastry from going soggy.

 Put a prepared pastry lid on top of the mixture, opening a breathing hold at the top of the funnel.

I painted the top of the pie with an egg wash and cooked the pie in a hot oven for half an hour.

Once, ready to serve, I put the little bird on the top of the pie funnel and take the pie to the table where hungry people are waiting to eat it.

We ate it with new potatoes and mixed vegetables.

There wasn’t much left afterwards!

This is a recipe from Oma’s kitchen.

OLYMPUS DIGITAL CAMERA

Bedfordshire Clangers


So what’s in the pot? Can you guess?

This is a recipe very local… It’s called Bedfordshire Clangers.

Here they are cooking…………

Two little beauties boiling in their muslin parcels.

Every 40 minutes I have to top up the water, so I set the alarm so I don’t forget. Don’t want the puddings to go dry.

After 2 hours boiling, I take them out of the pan, using the string rope so I don’t burn my fingers and set them aside to cool a bit.

Where the string meets in the middle, the pudding will divide naturally. So I will have four puddings all together or two for greedy people. Traditionally there would be meat at one end and jam at the other but I have only meat and onion in mine today. The idea was that you started up one end with the meat, gravy added and then you worked your way down to the jam end which you would eat with custard.

I served mine with mashed swede this time. My son and I love mashed swede with butter in.

It’s advisable to open the dumpling up as soon as possible to let the steam out so it can cool down a bit. We like to pour HP sauce over it. American equivalent would be steak sauce but it’s not the same. HP sauce is available in Fresh Market.

After all that cooking and eating, it’s time for a mug of tea to wash it all down and maybe a snooze.

This is a recipe from Oma’s Kitchen.

The main ingredients are as follows:

1 lb of self raising flour

8 ozs of suet

cold water to make the dough

a pinch of salt

one onion, chopped

a packet of lardons, added to the onion

some fresh herbs to taste

Method:

Make up the dough by adding the suet to the flour in a large bowl. Add the water until the dough is pliable (you can roll it out)

Roll out four circles.

Cook the onions and add the lardons.

Put herbs in with the ingredients, either in the meat or in the pastry.

Put the mixture in the centre of the circle and close the dumpling up.

Roll it into the muslin square.

Hint: If you flour the muslin square first, it will seal the dumpling as soon as you lower it into the boiling water.

When you have the dumplings tied up, leave one end of string dangling so you can grab it later on and lower the dumplings into the water.

Get it back to boiling and put the lid on, half cock.

Keep the water topped up and the pot boiling for two hours.

Good luck if you want to try it.

It’s not for the squeamish and it is very high in cholesterol BUT

it is very delicious!

Oma

Home-made Tomatoe Soup from Oma’s Kitchen


In the winter months I make a lot of this soup. It tastes great and if you make enough of it, it will feed the family for four or five suppers.  Here are the ingredients:

Ingredients:

Tomatoes, quantity dependent on how many you’ve got or how many you want. The best ones to use are the Italian tomatoes because they have the most flavour. They also taste best if they are ‘going over’ a bit because then the sweetness is released.

1 large onion

1 red pepper

1 green pepper (optional)

flat dessertspoonful of salt (don’t overdo it.)

1 teaspoon of sugar

1 small tin of tomato paste (optional). I put one of these in if the boiled mixture looks a bit insipid. I like the soup to look really red.

1 squirt of tomatoe ketchup

a grind of pepper

1 teaspoon crushed chillis (optional). Do this if you want an extra kick in the soup.

Half pound of pork meatballs (optional)

Handful of rice, long grain

NB if you add the meatballs, bear in mind that the soup won’t keep for as long. I keep the soup in the fridge between eatings. Always boil the soup every day, whether you eat any or not. This will kill any bacteria and keep the soup safe to eat.

Method:

Put the tomatoes into a pan, large enough that the tomatoes come up to the middle of it. Add cold water to cover. Add other chopped ingredients and boil gently for half an hour.

Smells delicious at this stage.

When the boiling is done, leave to cool with a lid on.

When cool enough, put the mixture through a blender to purify, leaving a few bits of vegetable to chew on in the soup.

Return the soup to a large pan, add a knob of butter and if desired, some meatballs.  Pork taste best.

Ten minutes before serving for the first time, add a handful of long-grain rice. This will thicken the soup and soak up some of the flavours. Each time you reheat the soup, the rice will become thicker.  You may need to add more liquid (water) as the days go by.

Enjoy with crusty bread.


Propagating geraniums – how to take geranium cuttings.


 Picture of man in shed from the internet.

The geraniums in the tub below are beginning to look a bit tired.  Time to take cuttings.

I decided to start with the red one in the pot. Look at the next picture.  Can you see the larger stalk on the right of the red geranium?

That’s the one I’m starting with. Cut it off with your secateurs, just below a growing tip. See next picture to make sure you know what I mean by a growing tip.

Now remove and discard all the lower leaves and any flower stalks that are still apparent.  If you do this then the growth will go into the making of new roots and not into the production of more flowers. The larger leaves would die anyway so they need to come off. Now you are left with a perfect cutting. This will become a new plant, which you can put in your border next year, but you have to keep it indoors all through the winter.

Find your compost.  I put mine in a large blue tub, which doubles up as a play piece for my grandson when he comes round.  He loves to dig in here and it is relatively free from germs.

Put some of the compost in a small flower pot.  This one is a four inch pot. Incidentally this is not very good compost. I bought it in the Supermarket and it was cheap, but it is quite woody and not ideal for this job. The best compost is John Innes no. 2 which is a much finer compost. However I’ve put it in here so you can see the difference.  This would not be suitable for sewing seeds into. For that job you would need a much finer compost.

Poke the cutting into the compost in the pot until the growing tip is covered.  I’ve left this one a bit proud so you can see what I mean. You will need to poke it in further than this one.

Notice that a caterpillar has had a chew at this leaf.  Make sure he’s still not on the leaf when you plant the cutting (for obvious reasons).

This morning I did several.  I planted them together in a tub in the garden. They should be fine in there for another month and will benefit from the sun and the rain.  It will also make them hardy.  When I come back from America in mid October, I will take some more pictures of these cuttings so you can see how they’re doing. By then they will need to be put in pots and brought indoors before the first frosts arrive.

In the tub I have a selection of white, red, pink and peach cuttings.  It will be interesting to see which ones do the best.

These are cuttings of lychnis and Sweet Williams.  I’ll talk more about them another time.

After all that work, I reckon I deserved a nice lunch so I went into Oma’s kitchen and made myself a fry-up. Yummy!

What are you doing today?

Cheese Flan (Quiche)


Once or twice a week we have a cheese meal at the cottage. Today’s recipe is for cheese flan, as it used to be called or the more modern form – cheese quiche. There are lots of variations of this dish. This is the basic one.

Ingredients:

1lb of short pastry, made up. I make my own pastry using self-raising flour, Flora margarine and Trex shortening.

(American readers: I find that Crisco is very similar to Trex.)

80zs mature Cheddar cheese (American people can buy this in the foreign section of Food City. Kerrygold do an aged cheddar, which is very nice).

Small tin of evaporated milk (or half a large tin).

(American readers: If find that your evaporated milk is thinner than the one we buy in England. Therefore, don’t put too much in or your flan will be too loose.)

2 eggs. I use medium size.

1 tomatoe for garnish

 Have you noticed how thin the tins are getting these days? It’s hard to find one that is easy to open now. 

Method:

Make a lb of pastry and leave in the fridge to cool for 20 minutes. Meanwhile light the oven and set to hot. By the time you’ve made the filling, the oven will be just the right temperature and the pastry will be just right, ready and waiting for you in the fridge. (ice-box).

Next make the filling.

Grate the cheddar cheese, keeping back 2 ozs to sprinkle on the top of the flan.

Put the grated cheese in a medium sized bowl, add the two eggs and all of the evaporated milk.

Stir together with a fork.

Slice a tomatoe fairly thinly and set aside until later with the 2 ozs of cheese.

Take the pastry out of the fridge and roll out a third of it. That should be enough to line the base of a medium sized flan case.

Line the flan case and trim the top edge with a sharp knife.

Pour the filling into the flan case and lay the tomatoe slices on top.

Sprinkle the remaining 2 ozs of grated cheddar cheese on top of the tomatoe.

There will be enough pastry left over to make a meat pie (recipe coming another day) and a batch of jam tarts.

Cook the flan at the top of a hot oven for 30 minutes. Test after 25 minutes. Take the flan carefully out of the oven and give the flan case a slight shake (note: slight). If the flan filling is under-done in the middle, it will wobble a bit. If it does, put it back in the oven for the last 5 minutes. If the filling is firm in the middle, the flan is done.

30 minutes does it for me. I use Gas 6.Your oven might be different. I usually turn off the oven after the flan is done, but leave the flan in the oven. That sets the filling for sure. Make sure most of the heat has escaped from the oven before you do this, otherwise the flan will keep on cooking and may even burn.

Let’s take a closer look, Yumm!

Serve with a salad.

The jam tarts will be perfect for tea tomorrow.

This is another recipe from Oma’s kitchen.